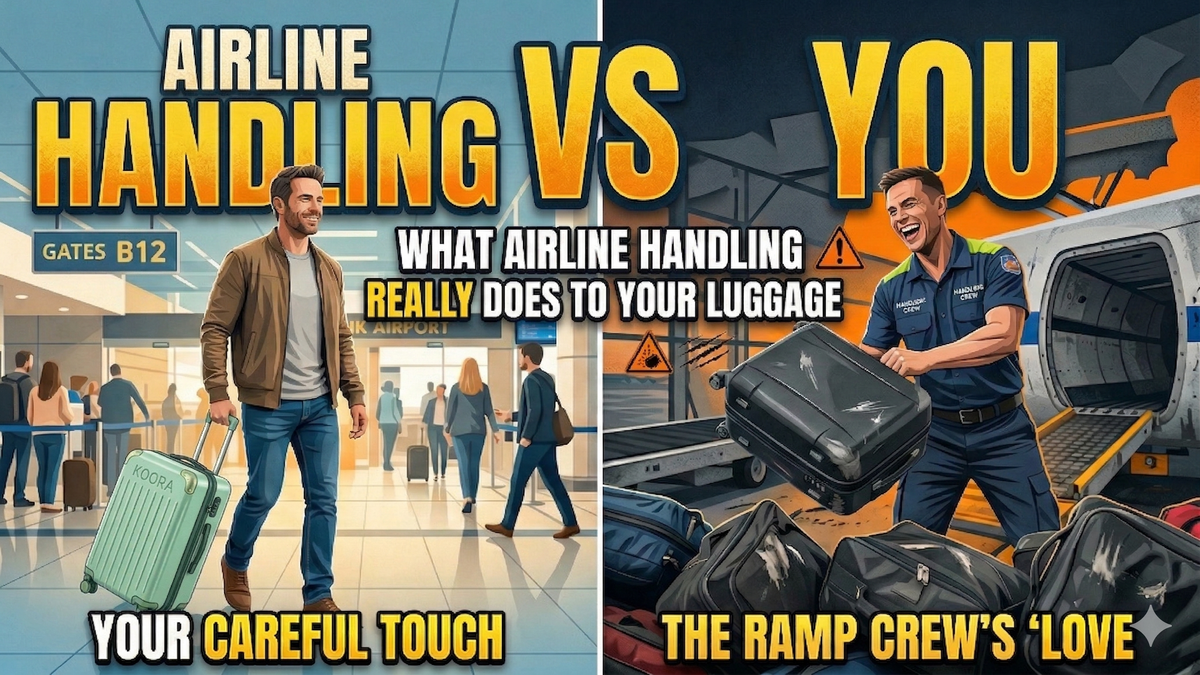
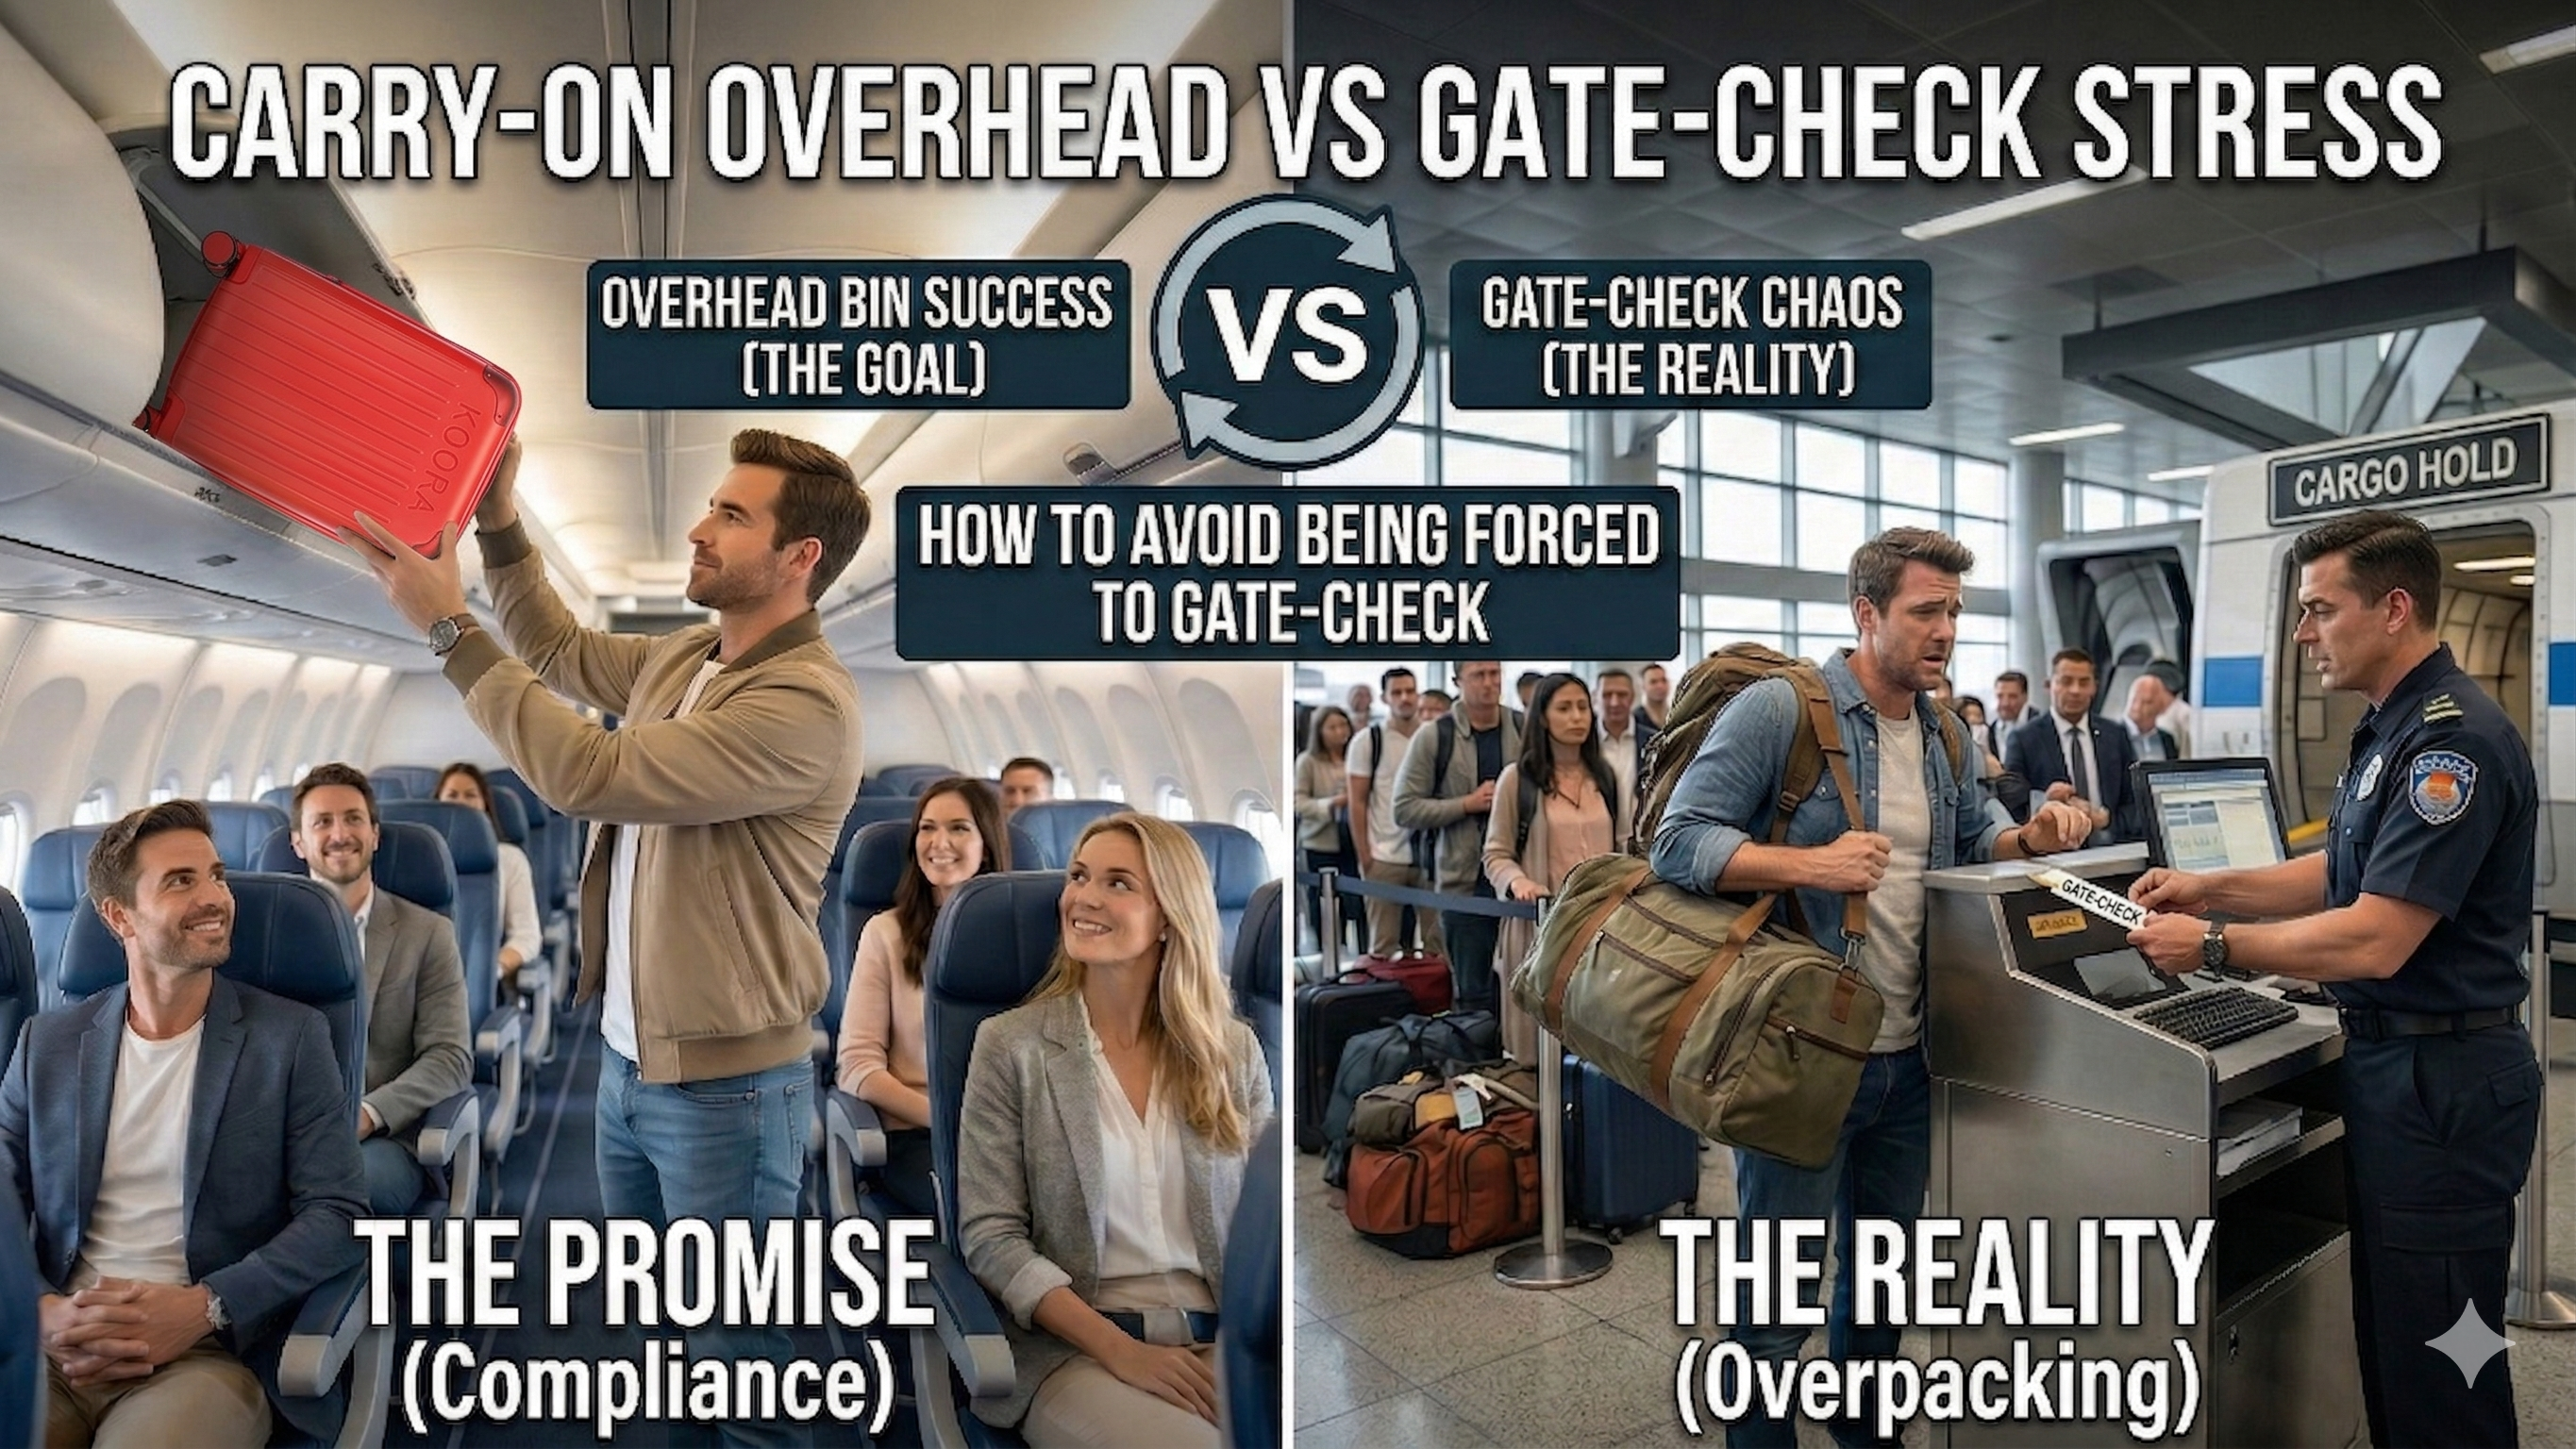
Carry-On Luggage for Overhead Bins: How to Avoid Gate-Check Stress

There’s a specific kind of travel stress that hits even seasoned flyers: you’re boarding, the aisle is clogged, overhead bins look chaotic, and you can feel the gate-check announcement coming. Suddenly your carefully packed carry-on is at risk of being taken from you at the door—along with your laptop, chargers, medicine, valuables, and the simple convenience of having your things with you.
This guide is built to prevent that. It’s a practical, SEO-friendly, real-world playbook for choosing carry-on luggage for overhead bins, reducing your chances of being forced into a gate-check, and handling the situation calmly if it still happens.
What “gate check” really means (and why it feels so annoying)
A gate check is when your carry-on bag is taken at the gate (or planeside) and loaded into the aircraft’s cargo hold—most commonly because overhead bins are expected to fill up.
It’s often free when it happens due to limited bin space, but it can still be a hassle:
- you lose access to essentials during the flight
- you risk delays waiting at baggage claim
- your bag is exposed to rough handling
- you might need to remove restricted items (like power banks) at the last minute
Some airlines explicitly note that on high-occupancy flights, carry-ons may be tagged and loaded into the hold due to limited storage space—and advise passengers to remove valuables, meds, and battery-powered devices before that happens.
Why overhead bins fill up (even when you “followed the rules”)
1) Overhead bin space is physically limited
Aircraft bins are not designed to hold one large carry-on per passenger in all cases—especially on smaller aircraft and older configurations. Some sources explain that airlines’ size limits are primarily driven by aircraft physical constraints, especially overhead bin and under-seat space.
The FAA also reminds travelers that some aircraft have limited overhead bin space and that personal items may need to fit under the seat.
2) “Carry-on size” is not universal
Carry-on allowances vary by airline, cabin class, and aircraft type. IATA notes that many airlines use a general reference of 56 × 45 × 25 cm (including wheels and handles), but airlines may be stricter and may apply weight limits too.
3) Enforcement changes by flight
Even if your bag fits the official dimensions, you can still be asked to gate-check when bins are full or when overhead bins are narrower on a particular aircraft configuration.
Step 1: Choose the right carry-on for overhead bins
If your goal is “never gate-check,” the bag itself matters more than people want to admit.
A) Size: aim for the strictest leg of your journey
A bag that fits one airline may be too big for another—especially if you have mixed carriers or regional aircraft legs. Use these references as reality checks:
- IATA general reference: 56 × 45 × 25 cm including wheels and handles (many airlines use this as a guideline).
- FAA practical guideline (U.S.-focused): many airlines use a max of 45 linear inches (height + width + depth).
What matters: don’t shop by “22-inch carry-on” marketing alone. Measure your bag’s real outer dimensions, including wheels, handle rails, corner bumpers, and front pockets.
B) Shape: choose “bin-efficient” geometry
Overhead bins reward certain shapes:
- Slim rectangular shells tend to fit more consistently.
- Overstuffed soft bags can become “too thick,” especially at the top.
- Hard corners are the first to lose when bins are tight.
If gate-check stress is your enemy, pick a bag that stays within its shape even when packed full—and doesn’t balloon outward.
C) Weight: be able to lift it safely
Some airlines enforce carry-on weight, and even when they don’t, the practical test is simple: can you lift it into the bin smoothly without struggling? IATA notes weight limits may apply, sometimes starting at around 5 kg (11 lb).
Also, certain airlines (like easyJet for its larger cabin bag) explicitly state you must be able to lift and carry your bag yourself.
Rule: If you can’t lift it easily at home, you’ll hate lifting it in a narrow aisle while people glare.
D) Wheels: a small detail that affects gate-check risk
This sounds indirect, but it’s real: stable wheels make you faster and calmer in boarding chaos. Wobbly wheels slow you down, make you bump seats, and increase the chance you end up in the last boarding wave where bins are already full.
Step 2: Pack your carry-on so it fits like a carry-on
Even the perfect carry-on becomes gate-check bait if it’s packed poorly.
A) Keep the top third “compressible”
Most overhead bins punish height and thickness. If your bag bulges, it becomes the problem bag.
Pack the top portion with:
- soft clothing
- a light jacket
- compressible items
Avoid packing rigid bulky items at the top that make the bag refuse to squeeze.
B) Don’t “max out” exterior pockets
Front pockets and tech sleeves are useful—but they add depth. When full, they can push a bag beyond bin limits or make it hard to slide in.
C) Use a personal item strategically
The smartest travelers treat the personal item as their gate-check insurance. If your carry-on gets taken, your essentials remain with you.
Your personal item should contain:
- meds
- passport + documents
- valuables
- laptop/tablet (if possible)
- chargers and power bank
- one layer (hoodie/shawl)
- one small hygiene kit (wipes, toothbrush)
This aligns with airline guidance that if a carry-on must be put in the hold, you should remove valuables, medicines, and battery-powered devices.
Step 3: Boarding strategy that reduces gate-check probability
Gate-check risk is often less about your bag and more about when you board.
A) Board earlier whenever possible
Simple truth: overhead bins fill from front to back as people board. If you consistently board late, you will get gate-checked more often—even with a perfect bag.
Practical ways to board earlier:
- check in early (especially on airlines that assign boarding order based on check-in time)
- avoid “last group” fares when you know you need overhead space
- choose seats/tiers that board earlier if the cost tradeoff makes sense for you
B) Watch for red-flag flights
Your gate-check risk spikes when:
- the flight is full / near full
- it’s a smaller aircraft (regional jets, narrow overhead bins)
- it’s a peak travel time flight
- boarding is already delayed (crew wants speed)
- you’re in the last boarding group
Airlines may even start gate-checking proactively before bins are literally full to keep boarding moving (and avoid aisle jams).
C) Don’t ignore the “free gate-check offer” (sometimes it’s a gift)
If your carry-on contains nothing you need onboard, and the agent offers free gate check early, taking it can:
- reduce aisle stress
- make boarding smoother
- get you settled faster
But if your bag contains electronics, meds, or valuables, keep it with you—and use the “personal item insurance” method above.
Step 4: Onboard tactics that help you keep your bag in the cabin
A) The fastest win: place the bag correctly
Many bins fit bags best when placed:
- wheels first
- sideways or “book style” depending on bin design and aircraft type
Don’t force it. If it doesn’t fit cleanly, you’ll attract attention and delay boarding—exactly when staff start making gate-check decisions.
B) Use the bin near your seat (and don’t hunt endlessly)
The longer you roam for bin space, the more the crew will push you to check your bag. If the bin near you is full, ask a flight attendant quickly where to place it rather than searching for minutes.
C) Don’t rely on the “I’ll just put it in later” idea
If you walk past your seat and stash your bag far away, you may end up:
- slowing the line
- needing to move it again
- becoming “that bag” that gets checked because it’s causing friction
D) Your under-seat plan matters
If you’re seated in:
- bulkhead rows
- exit rows
- certain aircraft where under-seat space is restricted
…you may have fewer options. The FAA notes that on some aircraft, personal items must fit under the seat in front of you due to limited overhead space.
So: if you choose a seat with limited under-seat space, you’re betting more heavily on overhead availability.
Why you might be forced to gate-check even if the bins look “not full”
This is one of the most rage-inducing moments in travel. But there are real reasons:
- Bins may be too narrow for certain bag shapes even if they’re technically “not full.”
- Airlines may gate-check early to reduce boarding delays and aisle congestion.
- The aircraft’s bin layout might not support a full flight’s worth of rollaboards (especially on smaller jets).
So yes, you can be “right” and still lose the overhead bin battle.
That’s why your goal shouldn’t be “win the argument.” Your goal should be “design a system where gate-check doesn’t ruin your day.”
If you do get gate-checked: a calm, fast checklist
This is where most people panic and make mistakes—especially with batteries.
1) Remove battery items immediately (this is critical)
The FAA explicitly states:
- Spare (uninstalled) lithium batteries, power banks/portable chargers, and e-cigarettes/vapes are prohibited in checked baggage and must remain with the passenger in the cabin.
- If your carry-on is gate-checked or planeside-checked, these items must be removed and kept in the cabin.
So when the agent says “we need to tag your carry-on,” your first move is:
- remove power bank
- remove spare camera/drone batteries
- remove vape/e-cigarettes
- ideally keep them in your personal item
TSA guidance also reinforces that spare lithium batteries (including power banks) must be carried on.
2) Pull out essentials you’ll need onboard
Airlines advise removing:
- medicines
- valuables
- battery-powered devices
before your bag is loaded into the hold.
3) Prepare for arrival logistics
Depending on the type of gate check:
- you might pick the bag up planeside after landing (common on smaller aircraft)
- or you might pick it up at baggage claim (common when it’s checked through)
Listen carefully to what the agent says—and if unclear, ask: “Will I pick this up at the aircraft door or baggage claim?”
4) Take a quick photo
Photo your bag + the tag. If something goes wrong, you have proof.
The “Overhead Bin Survival” checklist
Use this as a final pre-flight scan:
Bag selection
- ✅ Within strictest airline size you’ll fly
- ✅ Not overly deep when packed
- ✅ Easy to lift overhead
- ✅ Stable wheels, solid handle
Packing
- ✅ Top is compressible
- ✅ External pockets not stuffed
- ✅ Essentials moved to personal item
- ✅ Power bank/spares easily accessible
Strategy
- ✅ Early boarding plan (or earlier check-in)
- ✅ Know if your seat limits under-seat space
- ✅ Backup plan: if gate-checked, essentials are safe
The “best carry-on” mindset shift that ends gate-check stress
Gate-check stress is mostly a systems problem:
- Aircraft have finite bin capacity.
- Carry-on rules vary and enforcement changes.
- Boarding order determines who gets overhead space.
- Some items must stay with you if a bag is gate-checked.
So the winning approach is not “try to never get gate-checked.”
It’s: pack and plan so gate-check is only mildly inconvenient, not a disaster.
When your essentials are already in your personal item and your carry-on is bin-friendly, you stop boarding with fear. You board with options.